If you want to build your own Claude Code, what modules would you need?
7/19/2026, 12:50:17 PM · Source
This article provides an in-depth analysis of the architecture of terminal-based AI agents like Claude Code, pointing out that they are not merely a combination of models and tool calls, but rather complete systems composed of eight major runtime modules, including interaction, the main loop, tool protocols, context assembly, and permission approval.
If you want to self-develop a terminal AI coding assistant similar to [[Claude Code]], you can't just stop at the simple setup of "Model + Function Calling + TUI". A production-grade AI terminal tool must build a complete runtime architecture containing 8 core modules ranging from state management and context assembly to permission approval.
Core Architecture: Stepping Out of the "Chat + Tool" Misconception
Many developers' first instinct after studying the [[Claude Code]] source code is to build one themselves. However, there is a cognitive misconception here:
Don't understand it as a simple "model + function calling + terminal UI".
Looking at the source code, a practical Claude Code requires at least a complete set of runtime modules. Below is the system's minimum complete architecture diagram:
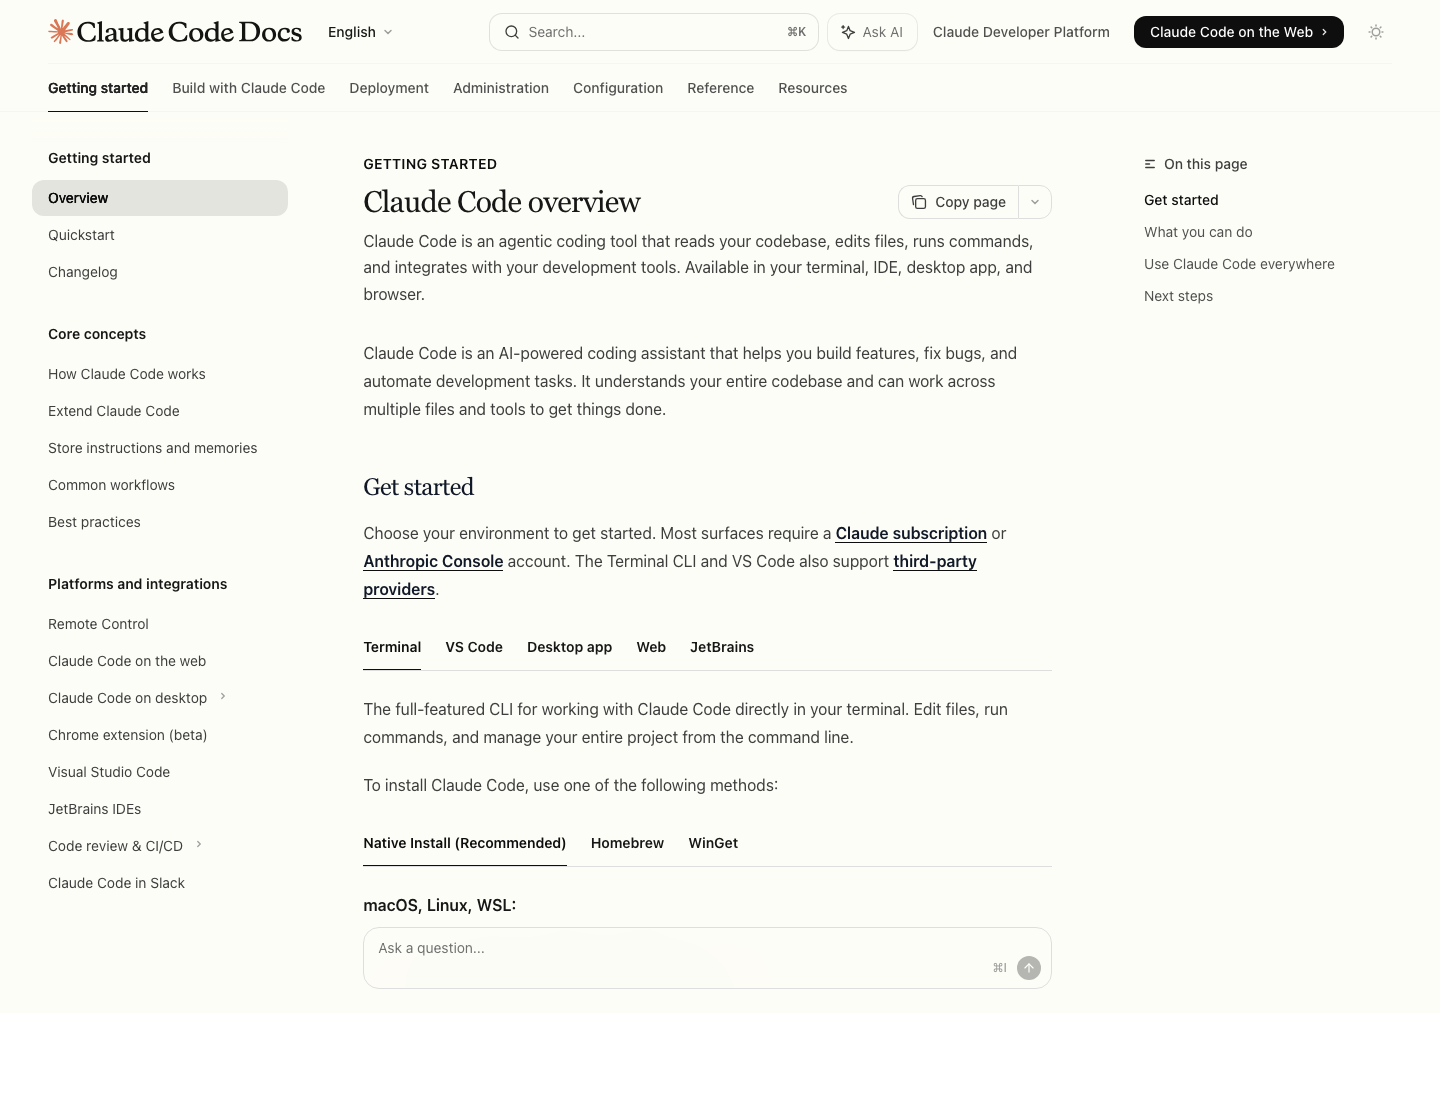 Claude Code Documentation Screenshot
Deep Dive into the 8 Core Modules
1. Entry and Interaction Layer
You need at least one clear runtime host:
- Command Line Interface (CLI)
- Terminal UI (TUI)
- IDE Plugins
- Web UI
Claude Code chose the Terminal + React Ink solution. While this is not the only choice, you must first build a stable interaction shell.
2. Session Main Loop
This layer corresponds to QueryEngine.ts in the Claude Code source code. Without it, the system only has scattered API calls and cannot form a true task closed-loop.
The main loop must be responsible for at least:
- Message History Management: Maintaining the context chain.
- Model and Tool Calls: Parsing and dispatching model instructions.
- Result Backflow: Ensuring tool execution results can be fed back to the model.
- Interruption and Budget Control: Preventing infinite loops and token overruns.
- Session State Continuity: Maintaining consistency across multi-turn conversations.
3. Unified Tool Protocol
This layer corresponds to Tool.ts. Without a unified tool protocol, the system will quickly suffer from:
- Inconsistent input and output formats for each tool, making maintenance difficult.
- Difficulty in unifying permission management.
- Difficulty in standardizing UI rendering and interaction logic.
- Difficulty in integrating external extensions (such as custom tools).
Therefore, a unified tool protocol is almost the underlying foundation of the entire system.
4. Context Assembly System
This is the most easily overlooked part, yet it is key to determining the upper limit of the tool's capabilities. In addition to calling the model, you must also decide what the model can "see" before each round of conversation begins:
- Git Status: Current modifications and branch information.
- Project Rules: Such as specific coding standards and constraint files.
- Memory Files: The core business logic and long-term background of the project.
- Current Date and Run Mode: Providing necessary time and scenario awareness.
The reason Claude Code performs so well and "understands projects" is largely due to this layer of precise context assembly.
5. Permission and Approval System
Once tools involve real actions like modifying local files or executing terminal commands, the permission system must go online. Otherwise, it will not be able to enter real engineering environments due to security risks.
6. File and Shell Infrastructure
If you want to build an "engineering assistant", these two types of tools are indispensable cornerstones:
- File Read/Write and Precise Editing: Supporting fine-grained reading, writing, and modification of code files.
- Shell / Command Execution Environment: Being able to safely and reliably execute terminal commands.
Without these two, the AI will not be able to complete any substantive development closed-loop.
7. State and Task System
As soon as the system starts to support the following complex scenarios, you will definitely need a unified state center:
- Long multi-turn conversations
- Time-consuming background commands
- Asynchronous background tasks
- Multi-agent collaboration
- Remote session connections
This is also where many toy-grade demos are most prone to breaking down when transitioning to industrial-grade real products.
8. Extension System
Once core capabilities are stable, in order to achieve platform evolution, you need to introduce an extension system to support:
- Plugin mechanisms
- Model Context Protocol (MCP)
- Language Server Protocol (LSP)
- Custom Skills / Agents
Phased R&D Roadmap
If you plan to implement a similar tool yourself, do not try to replicate the complete Claude Code in one step. A more realistic R&D roadmap is:
- Phase 1: First build a single-session main loop (implementing basic LLM-Tool interaction).
- Phase 2: Add file read/write and Shell execution tools (acquiring basic code modification and running capabilities).
- Phase 3: Introduce context assembly and strict permission approval mechanisms (ensuring safety, controllability, and project awareness).
- Phase 4: Refine the task and state systems (supporting long tasks, background suspension, and complex multi-turn sessions).
- Phase 5: Consider MCP, LSP, remote deployment, and multi-agent collaboration (moving towards platformization).
Key Takeaways
- Avoid the simplification trap: Developing a custom AI coding assistant cannot rely on a simple "model + Function Calling" setup alone; it must have a complete runtime system.
- Protocol first: A unified tool protocol (
Tool.ts) and session main loop (QueryEngine.ts) are the backbone of the system and must be designed with high priority. - Context and security are the core differentiators: What makes the tool so usable lies in its sophisticated context assembly (Git/Memory) and rigorous permission approval design.
- Build incrementally: Start with the most basic single sessions and file/Shell tools, gradually fill in states and permissions, and finally evolve towards platformization (MCP/plugins).
Learning map
Phase 1: Single-Machine Closed Loop (Building the Agent Foundation from Zero to One)
-
Command Line Interaction and Host Environment (TUI)
- Learn how to use React Ink or Commander.js to write CLI interfaces, providing a stable interaction shell between the user and the Agent.
-
Session Main Loop (QueryEngine)
- Implement the core scheduling logic to complete the closed loop of "Receive Input -> Call Model -> Parse Tool -> Return Results", which serves as the brain center of the Agent.
Phase 2: Productivity Tools and Context Awareness
-
Unified Tool Protocol (Tool Protocol)
- Design standardized tool interfaces (such as Tool.ts), defining input schemas and execution entry points uniformly to facilitate future expansion.
-
Dynamic Context Assembly System
- Learn to dynamically inject the current Git status, project rules, system date, etc., before sending each request to the LLM, giving the Agent the awareness to "understand the project."
Phase 3: Security and Multi-Task Engineering
-
Permission Control and Human Approval Mechanism
- Implement interception of sensitive operations (such as executing Shell commands and modifying core files), and add user confirmation interactions to ensure the Agent operates within a controllable scope.
-
State Center and Task Scheduling
- Introduce multi-turn session management, background tasks, and multi-Agent collaboration mechanisms to enhance the system's capacity to handle complex, long-running tasks.
Get hands-on — step by step
-
Environment Preparation and Initialization Initialize a Node.js project and install the necessary dependencies:
mkdir my-cli-agent && cd my-cli-agent npm init -y npm install @anthropic-ai/sdk dotenv prompts -
Designing a Unified Tool Protocol Create a
tools.jsto define a simple file reading tool:const fs = require('fs'); const readFilesTool = { name: 'read_file', description: '读取指定路径的文件内容', input_schema: { type: 'object', properties: { path: { type: 'string' } }, required: ['path'] }, execute: async ({ path }) => fs.readFileSync(path, 'utf-8') }; module.exports = { readFilesTool }; -
Writing the Main Conversation Loop (Query Engine) Import the Anthropic SDK in
index.jsand write the corerunAgentloop so that it can identify thetool_usereturned by the model, executereadFilesTool.execute, and send the result back to the model to generate a response again. -
Introducing User Approval Before executing a tool, add a blocking block of code: if it is writing a file or executing a command, use
promptsto ask the user: "Allow execution of this tool? (y/N)". Only call theexecutefunction after the user confirms; otherwise, return "User denied execution" directly to the model.
Top 3 sources
- 1Anthropic Claude Code Guide
Anthropic 官方关于 Claude Code 命令行工具的详细说明与架构指南。
https://docs.anthropic.com/en/docs/agents-and-tools/claude-code
- 2React Ink GitHub Repository
Claude Code 用于构建其精美命令行交互界面的 React CLI 渲染框架。
https://github.com/vadimdemedes/ink
- 3LangGraph Official Documentation
学习如何利用图结构管理复杂 Agent 状态、循环和多智能体协同的首选开源框架。
https://github.com/langchain-ai/langgraph
Links are AI-suggested — worth a quick sanity check before diving in.